Working with multiple team members in post- production has been simplified with Team Projects. The new feature is available in the latest release of Creative Cloud. To use it, you’ll need a Creative Cloud account for Teams or Enterprise. Once you’re setup, Premiere Pro, After Effects and Prelude allow for multiple video editors, producers and motion graphic designers to work simultaneously in each application sharing various versions of there work.
The Teams Project feature is still in Beta so if you have the appropriate subscription and after trying it have ideas about how to make the technology even better, I’m sure Adobe would love to hear from you. In the meantime, let’s look at how Team Projects work.
1. Creating a Team Project.
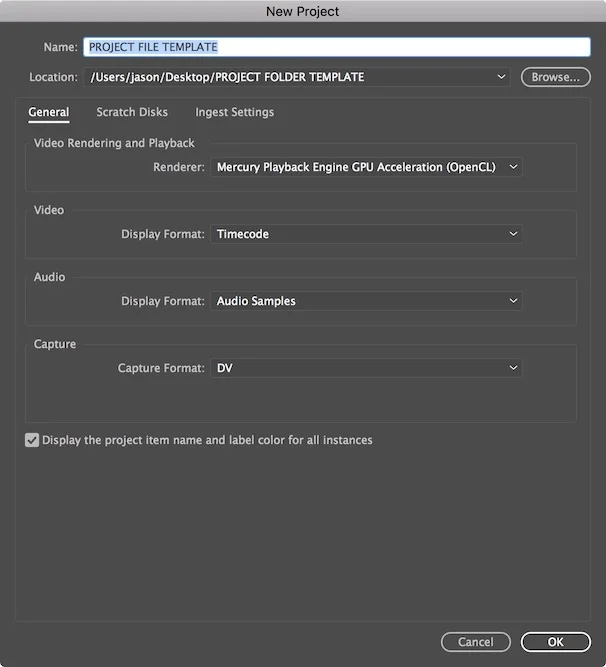
Creating a Team Project is easy. From the Welcome screen when you launch Premiere Pro you can choose New - Team Project or in Premiere go to File – New Team Project. If you don’t have a teams or enterprise subscription Premiere will present a dialogue box telling you that you can’t use it. If have the right plan, options for your Project will display.
a) In the General Tab, you can name your project, add a description and press the edit button on the bottom left to invite people to collaborate. (Please note: you can send an invite to any email even outside your teams account or enterprise licenses. The person on the receiving end has to have one of these two accounts though).

The general tab where you can name, add a description and invite collaborators through the edit button.
b) The Option and Scratch Disc tabs are similar those in a regular Premiere Pro project. You can set how video and audio will be displayed, set capture formats for tape based media if required and set the location of any preview files.
c) The Ingest tab is very important for a number of reasons. If you choose to enable this tab you have the options to: copy; transcode; create proxies; or copy and create proxies (features introduced earlier in the year for regular Premiere projects). The best choice depends on how you’ve set up your collaborative workflow. Let me give you three scenarios for potential use.
Ingest Action: Copy
The editor starting the team project has raw media on her external hard drive that she wishes to transfer to a shared storage solution at work so everyone on her team can access it. She chooses the ingest action copy and sets the primary storage destination to the shared storage. MD5 verification is setup, meaning it will check to make sure the data in the copied file matches the original and is not corrupt.

Ingest settings set to copy clips to shared media storage with MD5 verification.
Now when she goes into the project to import the clips, the files will also be copied to the shared storage destination in the background. This means when she shares a project with her teammates, they’ll automatically be connected to the raw media files on the network.

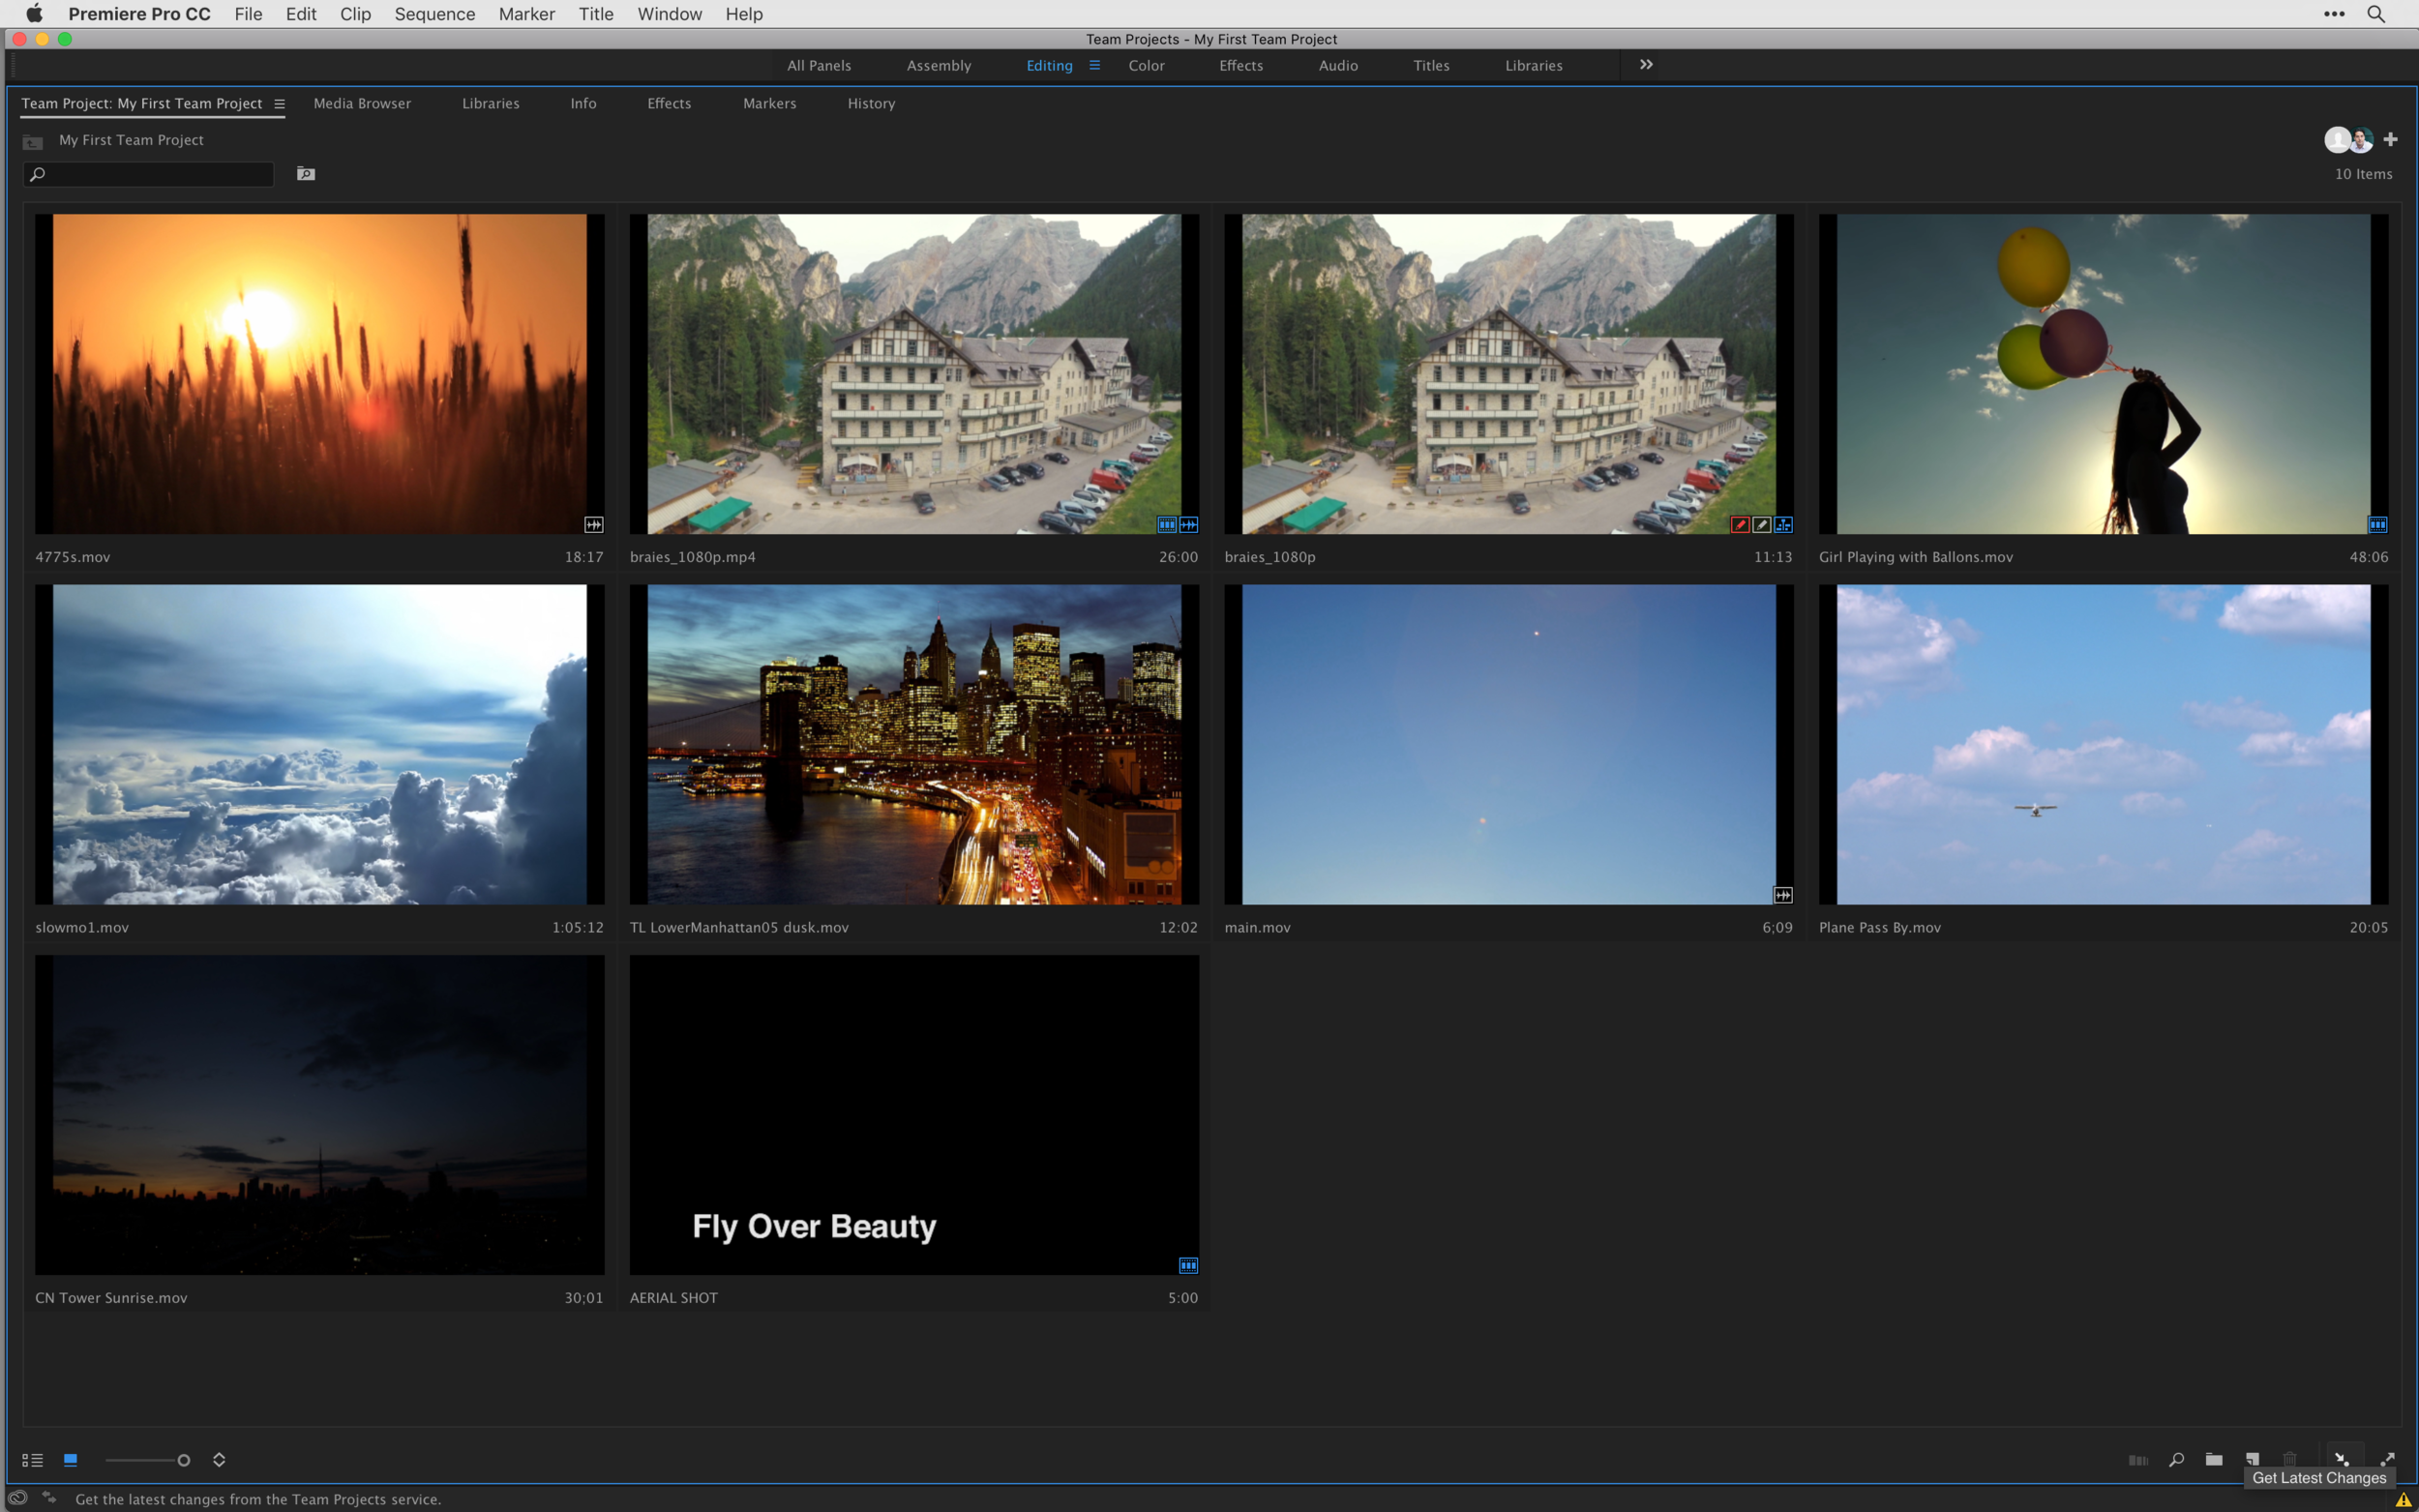
Files successfully connected in a Team project.
Ingest Action: Create Proxies
The editor starting the Teams Project has all the media needed on shared team storage, however a few of his offline editors work remotely and don’t have access to the material on their external drives.
He chooses the ingest action Create Proxies to create smaller files to work with and sets the primary storage location to Creative Cloud Files.

Choosing to Create GoPro Cineform Proxies and upload them to the web through Creative Cloud Files.
Now when the editor goes into the project and imports the clips, the proxy files will be created in the background through Media Encoder. Once completed, proxies will be placed in the Creative Cloud Files folder on the editor’s computer and then uploaded to the web.

Media Encoder creating proxies in the background based on the current ingest setting for the Team Project.
You can head to the Creative Cloud Files folder on your computer to see the sync process.

Creative Cloud files successfully uploaded to the web have a green checkmark.
Once the files are uploaded on the editor’s Creative Cloud Account online the editor can invite people to the folder.

Where to find your Creative Cloud Files online under your Creative Cloud account.

Proxy Files being viewed on the web that were uploaded to the Creative Cloud Files Folder. You can share the folder to a team member by clicking the plus icon.
The remote team members receive invites to the project and to the Creative Cloud project proxy media folder online.

Invitations sent through the Creative Cloud App to a Team Project and a shared folder with proxies.
Once the remote team members accept both invitations and they open the team project, the proxy media from the cloud begins to download. The proxy files will be automatically connected in Premiere Pro once complete.

Opening a Team Project from the File menu.

Creative Cloud files from a shared folder online being downloaded after a team project is opened.
Ingest Action: Transcode
The editor responsible for setting up the team project has taken a look at all the footage and it’s a highly mixed format production (10 different camera sources). He chooses the ingest action transcode to have everything be under a common format that will also be suitable for exporting deliverables. He sets the primary storage location to a shared storage device that every collaborator has access to.

Ingest settings set to transcode clips to a shared storage after importing into Premiere.
Once he chooses to import his footage, Adobe media Encoder will transcode all the footage to the chosen format over to the shared storage drive. Once the project is shared with the other team members, the media in the project will be linked to the transcoded media.
2. Working With and Sharing a Team Project.
Once you setup a Team Project, you can work in it like any other regular Premiere Pro project. Organize your clips, edit them into the sequence, add effects and when it’s time to share you simply click the share my project button in the lower right of the Project Panel

The button for sharing changes with the Team Projects service in the Project Panel.
In the dialogue box, you can add a comment and press the share button on the lower right hand side. Your project will then be shared with Team Projects service.

The Team Projects share dialogue where you can add comments.

The changes to a Team Project being synced to the cloud.
3. Receiving a Team Project.
Receiving a Team Project is easy. If you’re inside Premiere and your Creative Cloud App is running, you’ll be notified when someone shares a Project with you. In Premiere, you can go to the File Menu – Open Team Project and choose the project you want to open from the list.

The Manage Team projects dialogue where you can open a Team Project.
There is also a button in the Project Panel that allows you to receive the latest version of a Team Project later.

Where to get the latest changes of a Team Project.
Now what if you open your project and it looks something like this.

An example of offline media after receiving a Team Project.
In the “Creating a Team Project” section of this article, I listed several ingest scenarios. 2 of them copied/transcoded files into a shared storage which would have the files automatically connect at this stage because everyone has access to the same files at the same location.
Well what if a remote editor had all of the Project files on an external drive with a different name than the editor who sent the files. This would involve reconnecting/remapping the external media to the remote editor’s drive. Under the edit menu, you can go to Team Project – Media Management.

Going to the Edit Menu under your Team project Media Management settings you remap where the offline media is linked.
Under Media Management, select the drive the files are supposed to be connected to and from the bottom left corner choose New Media Mapping. Navigate to where the footage is and choose the new location. Once you are finished close the Media Management dialogue box.

How to changing Media Mapping under Media Management for a Team Project.
4. Resolving Conflicts.
Let’s say you happen to be working on a Team Project when another editor is working on the same project at the same time. You make different changes to a sequence. When you attempt to get the latest changes from your team, this window pops up.

The Resolve Conflicts Dialogue Box.
The first and second options involve getting rid of one of the sequences. In the first, you keep your version while discarding your teammates. In the second, you take your teammates and replace your own. In the third, and in my opinion safest option, you keep both. You get your teammates’ sequence and then rename your own. This way you can compare the changes.

A timeline that compares two sequences after choosing copy and rename your version in the resolve conflicts window.
5. Reviewing Previous Versions of a Project.
Let’s say you’ve been working for 30 minutes and realize that a previous sequence was in a much better state then the one you have in front of you, or maybe you chose the wrong project option when attempting to resolve conflicts. In these cases, there is an extremely handy button inside of the Media Browser that allows you to sift through the history of previous versions.

Arrow Pointing to Toggle Team Project History Slider in Media Browser.
Simply, use the scroll bar on the right after toggling on the Team Project History Slider. You can then scroll down to see previous projects and the contents, double-click the older assets to view them (read only) or alternatively copy and paste clips and sequences into your current project.
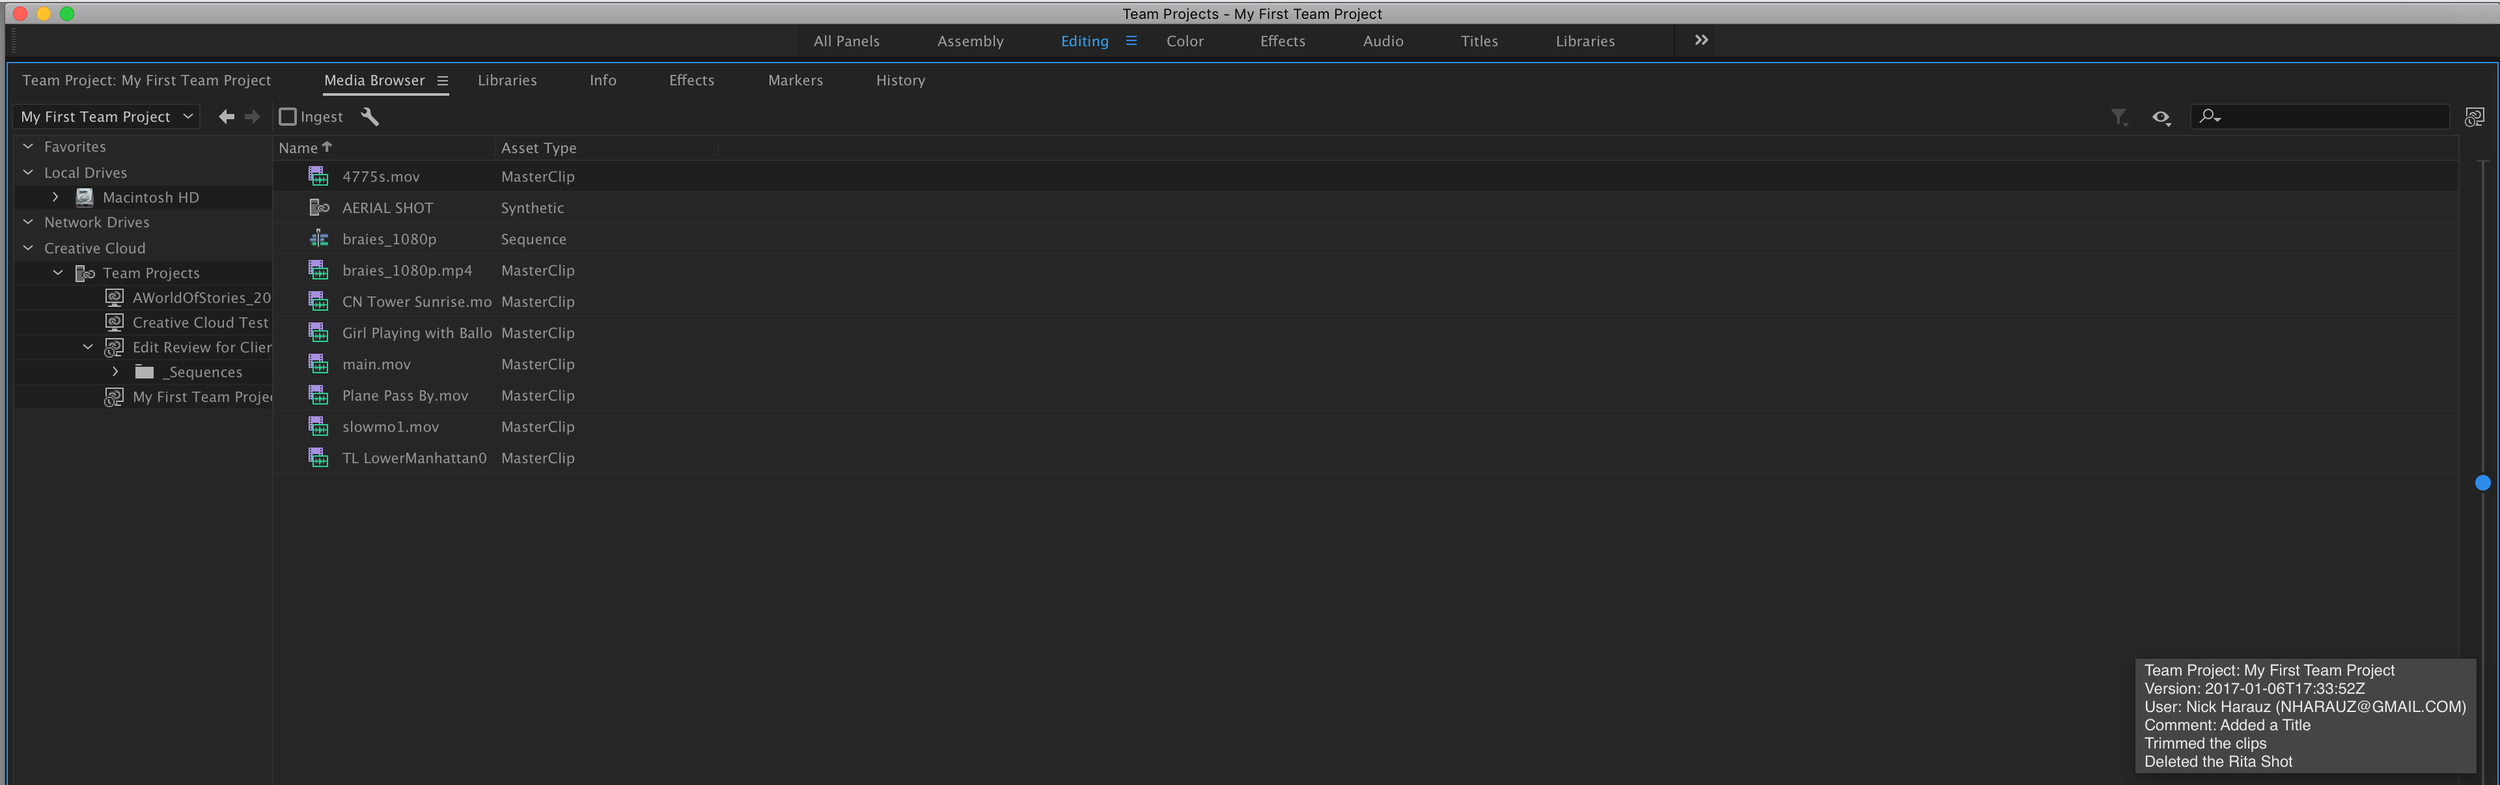
Scrolling down to a previous project and viewing the comments submitted.
6. What About Client Review?
There's a broad range of collaborative activities in producing video. For professionals working together in post-production, Team Projects is an awesome new tool that has the potential to change the way we work as editors and motion graphic designers.
For things like client review, where you're looking for an effective clear cut tool to simplify the feedback process, why not take a look at integrating Screenlight into your workflow. With this tool, you can easily upload your work, share it, and easily capture the exact feedback needed to push your creative projects across the finish line.