While at #AdobeMax Nov 2 through 4 in San Diego, CA I had the pleasure of speaking with several trainers and Adobe evangelists about their favorite Adobe video & audio tools. Here is a recap of what I learned from them.
The Pancake Timeline or Stacked Timelines in Premiere Pro.

Jarle Leirpoll’s favorite editing approach in Premiere Pro is what he calls “stacked timelines.”
In the U.S., we commonly called this the “pancake timeline” approach. But he, as a Norwegian, says that in Norway they do not stack pancakes like Americans, they eat them one at a time, which is why he call it a stacked timeline. He is quite a funny fellow! Anyway, this method of “stacking” timelines is not new, but if you are a beginner with Premiere Pro this approach will definitely help you declutter your timelines.
Basically a pancake timeline is when you nest multiple sequences within a one sequence. Rather than cutting all video scenes into one timeline, which can get messy, you create and edit separate sequence for each scene of your video. Then you can nest each sequence within a final sequence. This makes it more clean and easy to work in.
Sky Replacement with the Premiere Pro Title Tool.
Jarle also provided us with a very neat Sky Replacement trick from within Premiere Pro using the title tool. We were all surprised by this as most sky replacements for video must be performed within Adobe After Effects. But Jarle showed us differently! I tweeted about this trick at #AdobeMax and so many of you were interested in learning how this was done, so I made a tutorial on it. You can watch it here.
Jarle is an Adobe Certified Trainer, author of “The Cool Stuff in Premiere Pro” and creator of PremierePro.Net. You can use promo code: “MAX” to get a 10% off his book (which is one of the best books out there!) This code expires Nov. 30, 2016. So if you want the book, get it soon!
Slip Edit Tool.

The slip tool lets you move the start time of a clip without changing the time position and duration of the clip in the timeline. You can perform a slip edit by selecting “Y” (the keyboard shortcut), click on the clip and then drag the slip tool left or right to roll the clip back and forth. I had never used the slip edit tool before, but Luisa Winters, Adobe Certified Master Trainer, highly recommends it and deemed it her favorite tool in Premiere Pro because she can edit faster without having to shift clips around in the timeline when she needs to perform a simple time shift on an individual clip.
360 Video and the Mettle Plugin for Premiere Pro.

I attended a session on Virtual Reality and 360 with Dave Helmly, Karl Soule, and Lucas Wilson. Karl Soule, Adobe Video Evangelist, walked us through the ideal 360 video process. 360 editing is actually quite easy to do because it follows traditional linear storytelling practices, but just in a 360 environment.
If you are new to 360 video, Karle recommends starting with the Ricoh Theta S Camera ($345). It has two cameras which capture 180 degree videos each and Ricoh supplies an application, called Spherical Viewer, which can stitch the two 180˚ video images together so you can edit it as 360˚ in Premiere Pro! Pretty neat and no fuss over manually stitching the footage! The Ricoh Theta camera, however, has been criticized for not having the best resolution, for being “soft” and not sharp. And that’s okay because it is just an entry level camera.
Dave Helmy recommends sharpening Theta’s 360 image using the Lumetri Color Panel in Premiere Pro. He also recommends using the Mettle plugin to add effects to your 360 video, such as titles that move within 360 space.
Slow Motion Optical Flow.

If you want to create really awesome and fluid looking slow-motion, make sure to change the time interpolation of your clip speed/duration to “Optical Flow.” It makes the slow motion more smooth and seamless. Christine Steele, Adobe Certified Master trainer and documentary filmmaker, uses the rate stretch tool (shortcut is “R”) to extend the clip out to a different speed rate. Since there is not a shortcut for changing the speed or duration. Christine recommends setting your own custom keyboard shortcut for optical flow, such as “command + O.” To set your own keyboard shortcut, there is also a shortcut. Simply press option + command + k!
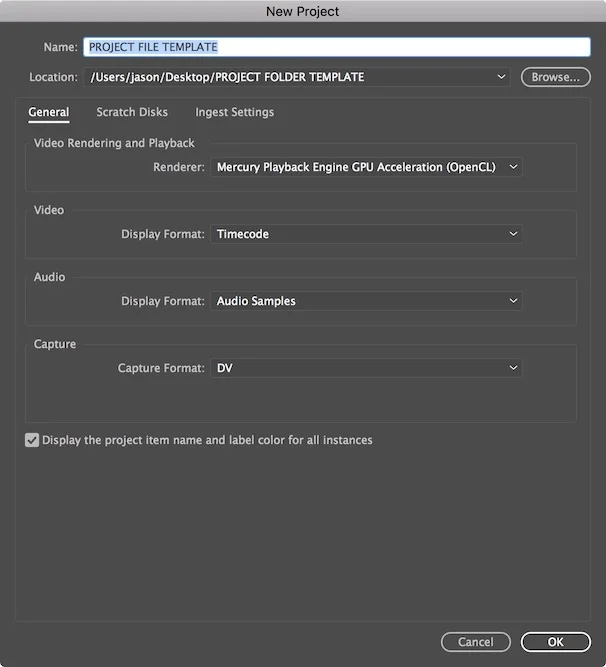
Best #PremierePro Switch & Headache Relief Ever.
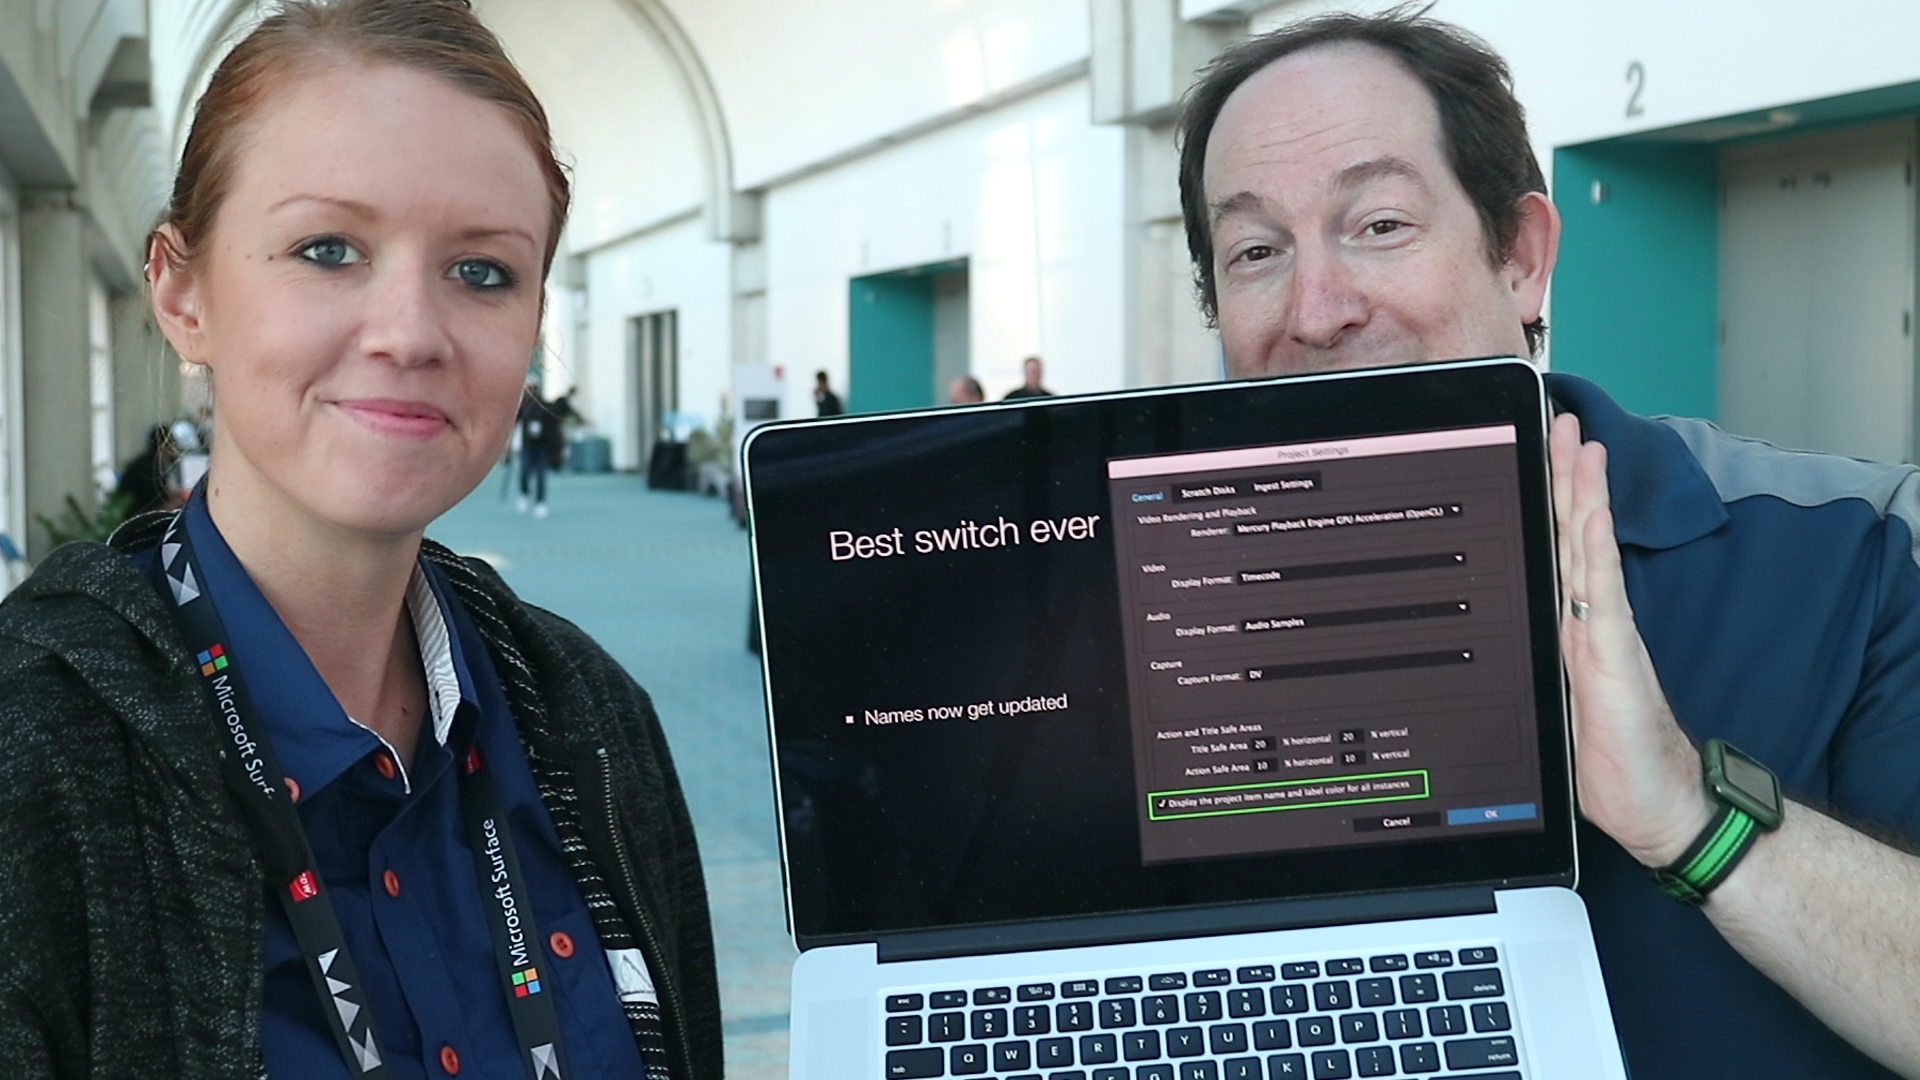
Ever change a file name or label color in your Project Panel after you started editing in the timeline? Turning on this switch in Premiere Pro will make sure that the clip name and color labels remain consistent in your timeline and in your project Panel. Jeff Greenberg, Adobe Certified Trainer and post-production consultant, hoped that this switch would make editors out there cry. If you have ever attended any of Jeff’s training sessions you will know that he loves to make editors cry tears of joy! To make sure this switch is on go to file > Project Settings > General. Then at the bottom of the “General” tab in the project settings window, make sure to check the box next to “Display the project item name and label for all instances.” This will help you stay organized and prevent any label change headaches in your future!

The New Premiere Pro Social Publishing Panel (beta).
I also interviewed Maxim Jago, Adobe Certified Trainer, at Adobe MAX, but unfortunately his audio did not turn out which is why I had to leave him out of the video. Sorry, Maxim!

One of the new tools he is most excited about is the forthcoming Social Publishing Panel beta in Premiere Pro. The Social Publishing Panel is a new streamlined publishing workflow designed to help you take advantage of the strengths of each social media platform (YouTube, Twitter, Facebook, Instagram) and track video performance.
The panel will include personal recommendations to optimize content performance, grow audience and expand content reach. Personal recommendations include, tag suggestions, a video scheduler, categories and the option to include a custom thumbnail. You will also be able to track analytics! Maxim highly encourages anyone who wants to grow their brand, to sign up for the beta and start using the Social Publishing Panel.
Time Tuner in Premiere Pro Export settings.

Last, but certainly not least, I also interviewed Jason Levine, Principal Worldwide Evangelist, who happens to be a big fan of Gal as well! My favorite tips from him was the new time-tuner feature in Premiere Pro and Media Encoder. Let’s say you need to make your video exactly 60-seconds, but it is 61 seconds. Time-tuner will identify moments of “stillness” in your video and it will remove those portions to reduce the duration of the video to fit into your desired 60 second slot. Pretty amazing right? To use the time-tuner effect, simply go to export settings and under the “Effects” tab, scroll down and check the box next to “time tuner” (see screenshot).


Premiere Gal is a video editing and production resource for emerging video editors and producers. All tutorials are free on Gal’s YouTube. You can make tutorial suggestions here and tip Premiere Gal for her services here. Follow Premiere Gal on Twitter, Facebook, and Instagram. Premiere Gal received a complimentary ticket to attend #AdobeMax2016.