Premiere Pro comes with several color correction tools to help enhance your footage. Over the last few Creative Cloud updates these features have drastically expanded.
One of these additions is the Lumetri Color Panel. It combines SpeedGrade and Lightroom technology to bring sophisticated color correction right inside of Premiere Pro. The best part about it is no matter what background you come from (ie: photography, motion graphics, editing) there are tools inside to make you feel right at home for correcting images.
In the first part of this two article series, we’re going to take a look at some of the basics for navigating the Lumetri panel while in the second we’ll explore using other Adobe applications and third party tools to enhance the Lumetri experience. Let’s break this down into steps for easier reading.
1. Accessing the Lumetri Color Panel.
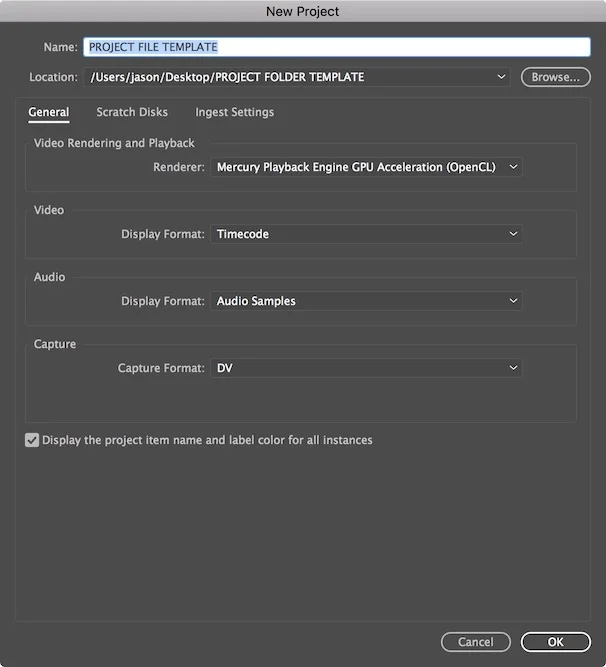
The Lumetri Panel can be accessed from the color workspace. If you have your workspace panel displaying you can simply click on the color tab, otherwise head to Window > Workspaces > Color. You also want to display your Lumetri Scopes to help analyze your clip before correcting.
If you’re new to color correction just know that your own eyes ALWAYS lie to you. Within seconds of staring at a particular color, your eyes can convince you that there are colors that aren’t really there. To see this for yourself, Google “Spanish castle illusion”. Go to the website moillusions.com that comes up. The Lumetri Scopes Panel should be accessible behind the Source Monitor. If not, go to Window > Lumetri Scopes.

The Color workspace will display the Lumetri Color and Scopes Panel.
2. Managing Your Lumetri Scopes.
As mentioned above, scopes are here to help you analyze your shots. The Lumetri Scopes come with several options to choose from. The easiest way to add a scope is to click on the settings (wrench icon) menu at the bottom right of the scopes panel. If you click on one of the top scope options, you add one to the panel. If you double-click right in the middle of the panel, you’ll reverse the order of the scopes.

Scope options available from clicking on wrench.

Parade (RGB) scope added by clicking on one of the top scope options.

Double-clicked in middle to reverse scope order.
Besides clicking on settings, you can right or control click directly on a scope to add another one or modify the scope. In the next example, I Ctrl-click on my waveform scope and change its type to Luma so I can focus on only the luminance levels in my clip. Notice you can also adjust the brightness of the scopes, choose a preset that will overwrite your existing scopes, and change you working color space to 601(SD), 709 (HD) and 2020 (Ultra HD). To learn more about what the scopes analyze, there are some fantastic courses on Lynda.com that go through this in detail.
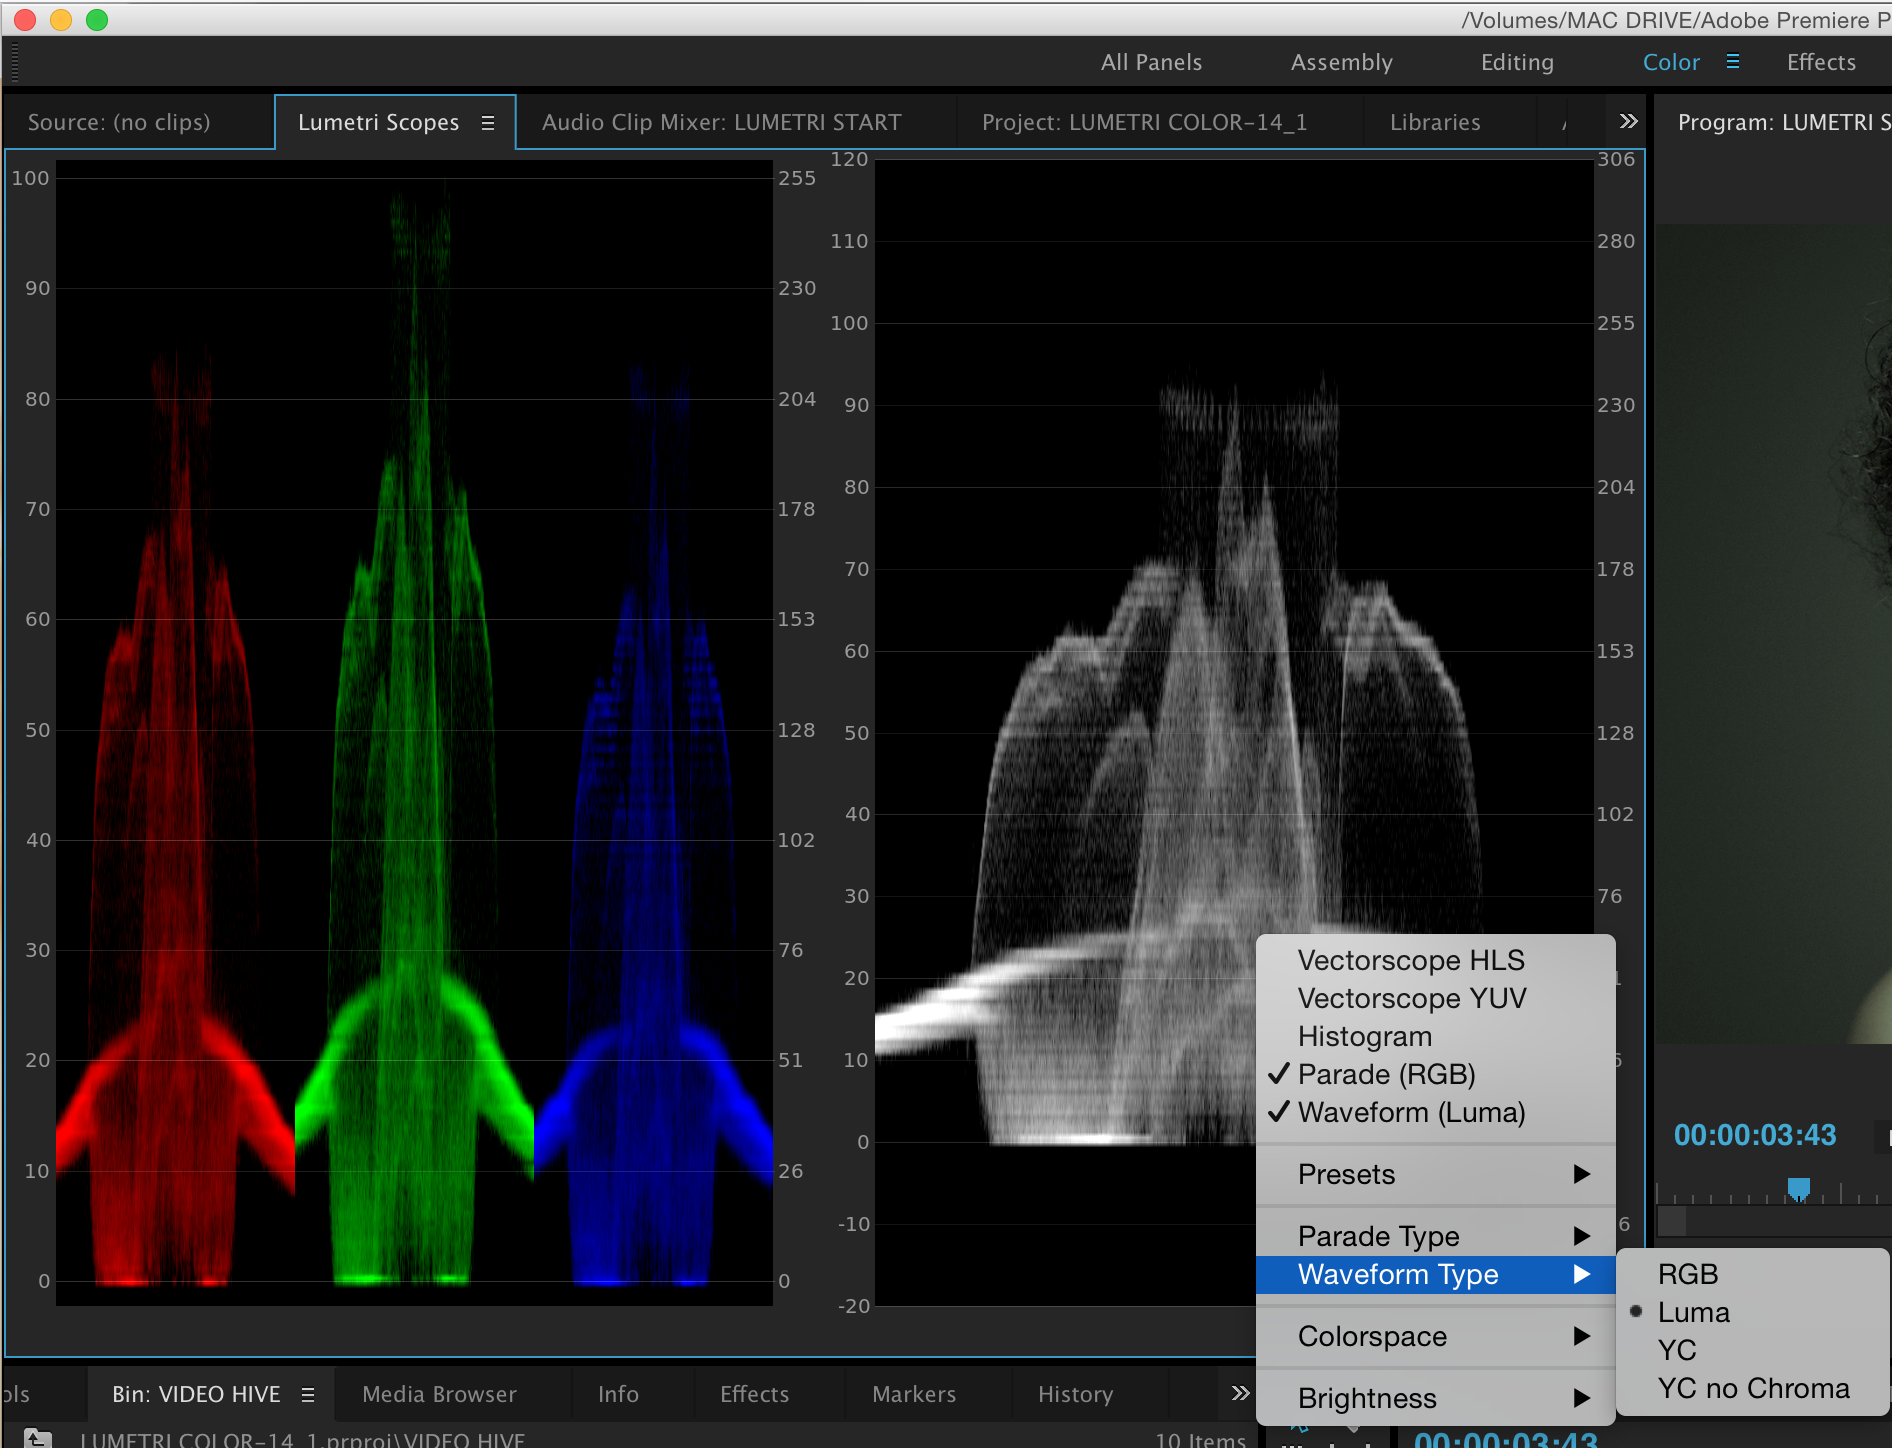
Changing waveform scopes type on right to Luma by ctrl-clicking on scope.
3. Managing the Lumetri Panel.
When you first look at the Lumetri Panel, you’ll see it’s divided into a series of categories. Now you don’t have to work top to bottom with this effect. The magic of Lumetri is, you don’t have to use every tab; you use whatever you feel most comfortable with. If you work with video, you may feel right at home with Color Wheels. If you’re a user of Camera Raw or Lightroom there’s the Basic Correction category and if you’re a fan of Instagram or simplified color correction, take the Creative category for a spin. Now a few things to note when you start out making corrections.
A) Automatic Clip Selection.
When you entered the color workspace, you may have noticed in the timeline, the clip your playhead is under automatically becomes selected. This means any adjustments you make in the color panel will be applied as an effect onto your clip. So if I make a change in the basic correction tab by dragging a slider, this adds an effect to the clip. To remove the effect, select the clip in the timeline, press Shift-5 to reveal Effect Controls, select the effect and delete it from the clip. You can turn off the automatic selection of your clip by going to Sequence > Selection Follows Playhead.

Sliders are changed from default values. Lumetri Effect added to clip playhead is over in the timeline.

Clip in timeline is selected with effect controls displayed in lower left corner to show Lumetri Effect added to clip. To remove it, select it and press delete.
B) Add an Effect as a Clip or Master Clip Effect.
You can work with the Lumetri Panel and add an effect as a clip or master clip effect. So say you have several shots in the timeline that come from the same master clip (ie: a dialogue scene where the same shot is repeating). If you look at the top of the Lumetri color panel, you’ll see an option to make adjustments to master clips. This means that that repeating shot in your timeline will have the same color grade throughout. Master clip effects show up with a red underline beneath the FX badge. They can be accessed under the master clip tab in Effect Controls. This can save you a lot of time and is a preferred workflow rather than copying and pasting an effect onto the same master clip.

Working on the master clip rather than the one instance of the clip.

A master clip effect applied to a clip after an adjustment was made in the Lumetri Color Panel.
C) Resetting Parameters in the Lumetri Color Panel is Easy.
I) For Sliders double-click the slider to reset it.
II) For Curves, double click to reset the entire curve or Cmd (Mac) or Ctrl (PC) click a point to remove it.
III) For Color Wheels, double click the contrast sliders to reset them and double click the cross hairs inside the color wheel to re-center it.
IV) You can disable any Tab by clicking the check box next to it.

The Color wheels tab is disabled.
V) Don’t forget, you can remove the effect from the clip under Effect Controls to start from scratch.
4. Mapping Some Keyboard Shortcuts for Your Color Workflow.
There are 3 commands for the Lumetri color workflow that will be handy to map to the keyboard. They are:
A) Lumetri Color.
B) Lumetri Scopes.
C) Bypass Lumetri Color Effects.
The above do not have assigned shortcut keys by default. In my mind, the last command is the most handy as it allows us to turn on and off our overall Lumetri color correction and compare it to the original clip while working in the Lumetri Color panel. So rather than disabling every single tab by clicking the checkmark or having to go to Effect Controls and disable the effect, we can trigger this through an easy shortcut.
To map the following effects to the keyboard go to Premiere Pro > Keyboard Shortcuts (MAC) or Edit > Keyboard Shortcuts (PC). Do a search for Lumetri and in the Shortcut column double click and apply a keyboard shortcut of your choice. Be careful and make sure no to overwrite shortcuts already assigned.

Where to find Keyboard Shortcuts on a Mac.
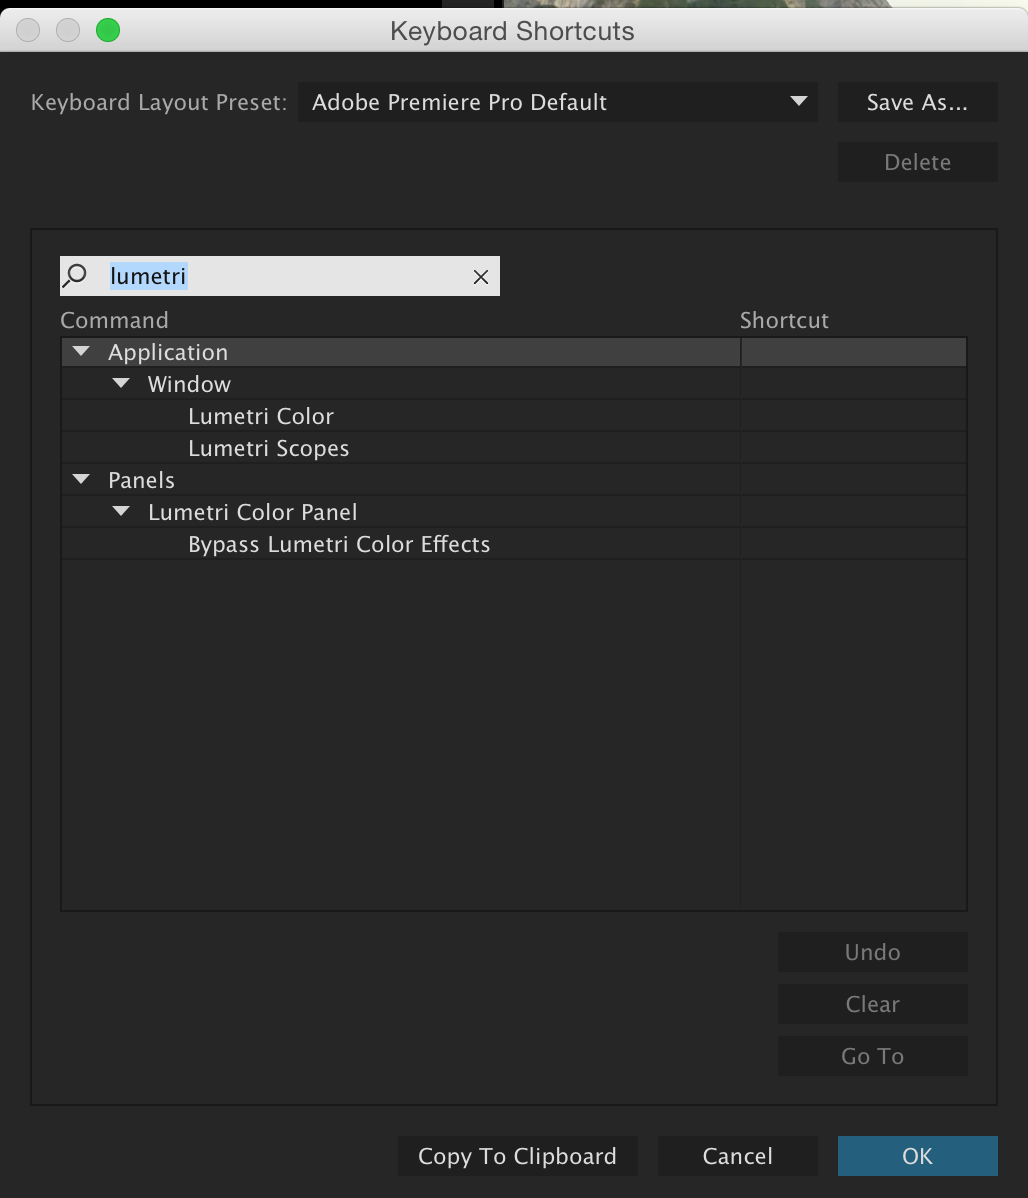
Searching for Lumetri commands not assigned to Keyboard Shortcuts.
5. A Brief Exploration of the Lumetri Color Panel Categories.
Now that we have a sense for some of the basics, let’s explore a few things each category has to offer.
A) Basic Correction.
The basic correction category should feel like a very familiar place if you’ve done editing in Lightroom and Camera Raw. Besides great controls for the tonality of your overall image as well as temperature and tint to set mood, you’ve got additional features that can really help out. At the top of the category is an input LUT (Look up Table) drop down.

Look Up Tables are a way you can provide a somewhat “automatic” look to your overall image. For example, some cameras shoot extremely flat looking images to allow maximum flexibility for color correction in post. The majority of preset LUT’s found in the basic correction tab increase the contrast in your shot and are meant to be applied to specific cameras and previously set up color profiles, however you can import any type of LUT from this menu. If you don’t see an appropriate LUT for the type of camera you’re using, you can always head to the camera manufacturer’s website and see if a LUT is available. It should be noted; you cannot control the intensity of the LUT. For this, you could use the Creative category.
Another feature of the Basic Correction category is the ability to do automatic white balance adjustments. Select the eyedropper next to the WB Selector and sample a pixel that’s supposed to be white in the shot.

Experiment by selecting various pixels to see which one will give the best results. If all else fails, try a manual based white balance adjustment in the category of your choice.
B) Creative.
The Creative category is a great area to apply predesigned looks to your footage. If you’re an Instagram user you’ll feel right at home with some of the controls such as Faded Film and Sharpen. The Shadow and Highlight Tint controls allow you to apply duotone type looks to you shots.
One of my favorite parts in the Creative category is the ability to choose and preview look presets. While you can use the look drop down to apply a look, I find it better to preview looks first using the arrows on top of the thumbnail image. If you find a look you like, double-click the thumbnail image to apply it. Use the intensity slider to increase or decrease the look’s strength. You can actually access the majority of these looks from the effects tab and also create your own LUT’s using Photoshop or Adobe Capture on your phone (we’ll be covering the latter part in the next article).

If you apply a look from the drop down list it applies the Lumetri effect to the clip.

If you use the arrows ontop of the thumbnail you can preview the preset looks without applying them to the clip right away.
Another favorite of mine in the Creative category is the Vibrance slider. If you’re new to Vibrance, it’s similar to saturation but doesn’t saturate every color in your shot equally. It tends to boost the muted colors more while leaving the already saturated colors alone. It’s also great for skin tones as it will try to prevent that oversaturated look on people’s faces.
C) Curves.
Besides having control over your separate Luma, Red, Blue and Green channels, the curves category also contains a Hue/Saturation control. This allows you to target hues in your shot and saturate or de-saturate them. Keep in mind while this curve doesn’t allow you to select a pixel in your shot, you can now do this in your HSL Secondary Category

An example where an adjustment has been made to the green curve and the saturation has been increased in yellow, orange and a bit of red but decreased in the rest of the image.
An example where an adjustment has been made to the green curve and the saturation has been increased in yellow, orange and a bit of red but decreased in the rest of the image.
D) Color Wheels.
If you’ve color corrected in another video editing app, chances are you’ll feel right at home in this category. Adjust the luminance in your shot by playing with the sliders at the side. Add color to the shadows, mid-tones or highlights by dragging the appropriate crosshair to the corresponding color.
Tip: If you’re manually trying to remove a color cast in your highlights drag the crosshair towards that colors complementary color (the one on the opposite end of the wheel)
2nd Tip: small adjustments go a long way! This goes for every category
3rd and final tip: Shift clicking a crosshair will move it faster. Try making extreme adjustments so that you can see them and then back off a lot. More than likely a whole lot. See tip number 2.
E) HSL Secondaries.
HSL secondaries were added as a category in the last release of Premiere Pro. In here, you’re able to do secondary based adjustments by selecting a color mask through hue, saturation and lightness controls and applying corrections inside or outside the mask.
The basic workflow goes like this.
I) Choose a color by using the eyedropper next to set color and selecting a color in the program monitor that you want to adjust.
II) Add to that selection by selecting the eyedropper next to add and choosing another color in the program monitor slightly different than the first.

The eye droppers were used next to set color and add to select the blue colors of the woman’s shirt.
III) Remove any colors you don’t want to be part of the selection iv) Click in the box next to color/ black to see your selection. Click the color/black dropdown to see you selection against various colors.
V) Play with the HSL sliders to refine the selection.

There is a checkmark next to white/black that shows me my selection. The mode is set to White/Black. I’ve used the HSL slider to refine the selection of the shirt.
VI) Choose to work inside or outside the mask with the circle icon.
VII) Refine the mask by denoising and blurring it.
VIII) Use the correction controls to adjust the selection. TIP: Since everything your doing here in the Lumetri Color Panel as an effect to your clip, you can combine your HSL secondary selection with your shape mask tools in effect controls for maximum potential.

F) Vignette.
This section allows you to add a simple based vignette similar to what you’ll find in Camera Raw. To create more sophisticated vignette using some of Premiere Pro’s other effects or third party filters might do a better job.
Stay Tuned for Part 2.
So there you have it; our first look at the Lumetri Color Panel and some of its capabilities. Join me in the next article, where we expand on the capabilities of the panel as we look at third party hardware to maximize the panel, explore creating LUT’s in other apps and saving presets and Look Up Tables directly inside of Premiere.